

This is one of the photographs which I took using my film SLR. The original photograph came out really well in my opinion, it was well contrasted and had a crisp white background which was what I was going for. I used completely natural lighting which I was a bit skeptical at first but in the end result it came out better than expected. To develop the image one step further, in the dark room I got a piece of photographic paper and cut out different stripes and stuck it on another piece of photographic paper, I then exposed it as normal. I really like this technique and I think it worked really well, in order to further develop this idea I could use different shapes and even different levels of paper and see how that does.

This another development from the photograph above. I tried to do a solarisation, which I did by getting photographic paper and dunking it in the developer and then expose the photograph and put it in the stop. It didn't come out quite as I had hoped, as when I was moving the photograph to the stop the developer began to drip down the paper. I actually kind of liked how it turned out, even though it didn't turn out quite like I had hoped.

This is the original photograph before any experimenting. I took it through a window, I choose to use this window as I thought it had some good texture to it with all the grid pattern and I also liked the rain droplets on it. I tried to focus the camera more on the window rather than figure to give it that selective focusing effect. The photograph although it a little too dark I think that was due to either, the lighting, which as natural however it was overcast which didn't help; or it could have been that it didn't have the correct light settings.

This is the selective painting development. Since the photograph was too dark, I thought I could use selective painting to only develop certain areas of the photograph. I did this by exposing the photograph and then with a paint brush, I would dip it into the developer and brush it on the paper. I thought this technique really helped make the image a little lighter and also it gave it a really different and interesting effect.

For this photograph I did selective masking. To achieve this I first had to know all the settings and times for each of the photographs. Once I knew this i exposed the first photograph covering the rest of the paper with black card. I then marked off where I exposed the photograph and then covered it. I then exposed the next image and repeated the process. I didn't know if it would come out and I was surprised when it did. Since I didn't know if it would work or not I wasn't sure how much of the photograph I should expose so it became a little more rushed. However this could be an experiment which I could take further and expose different photographs.

This photograph was one inspired by Ron Gallela in that it has the 'paparazzi' feel to it. I took this photograph from another side of a fence and asked my friend to look back as she walked as if she felt she was being watched. Again the photograph came out a little too dark due to the lighting but in this case I think it works for the mood of the photograph. It creates some sense of mystery and has that eerie feel about it.
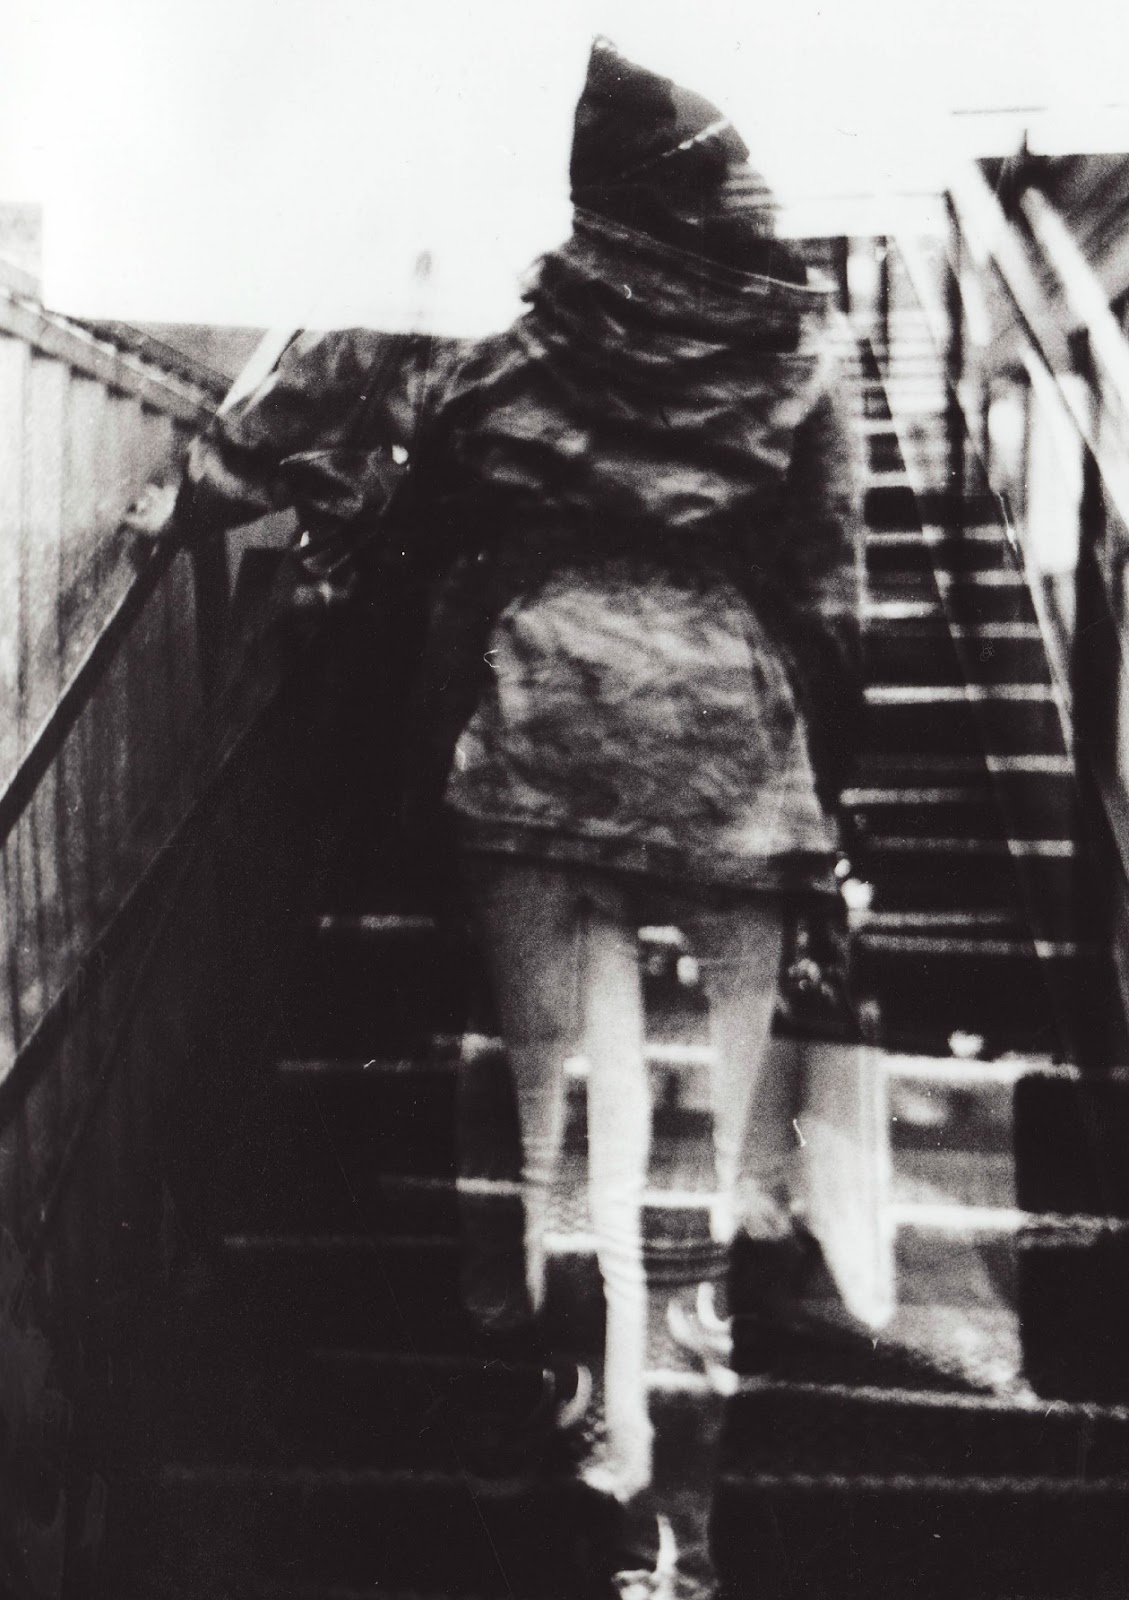
This is another paparazzi like photograph which I made into a double exposure by sandwiching two negatives together. Instead of using two different negatives, I used two which were relatively similar to each other which gave it that ghostly feel. The photograph due to it being sandwiched together came out very light and so I had to make the aperture smaller in order to get the photograph as dark as it would go and this is the end result.

Using the same double exposure I tried to a reversal. Whilst the photograph was being exposed I moved the paper which gave it that sense of movement, adding to the ghostly feel in the previous photograph. I like how the photograph starts off being dark towards the end and gradually gets lighter as you go to towards the top.
No comments:
Post a Comment